
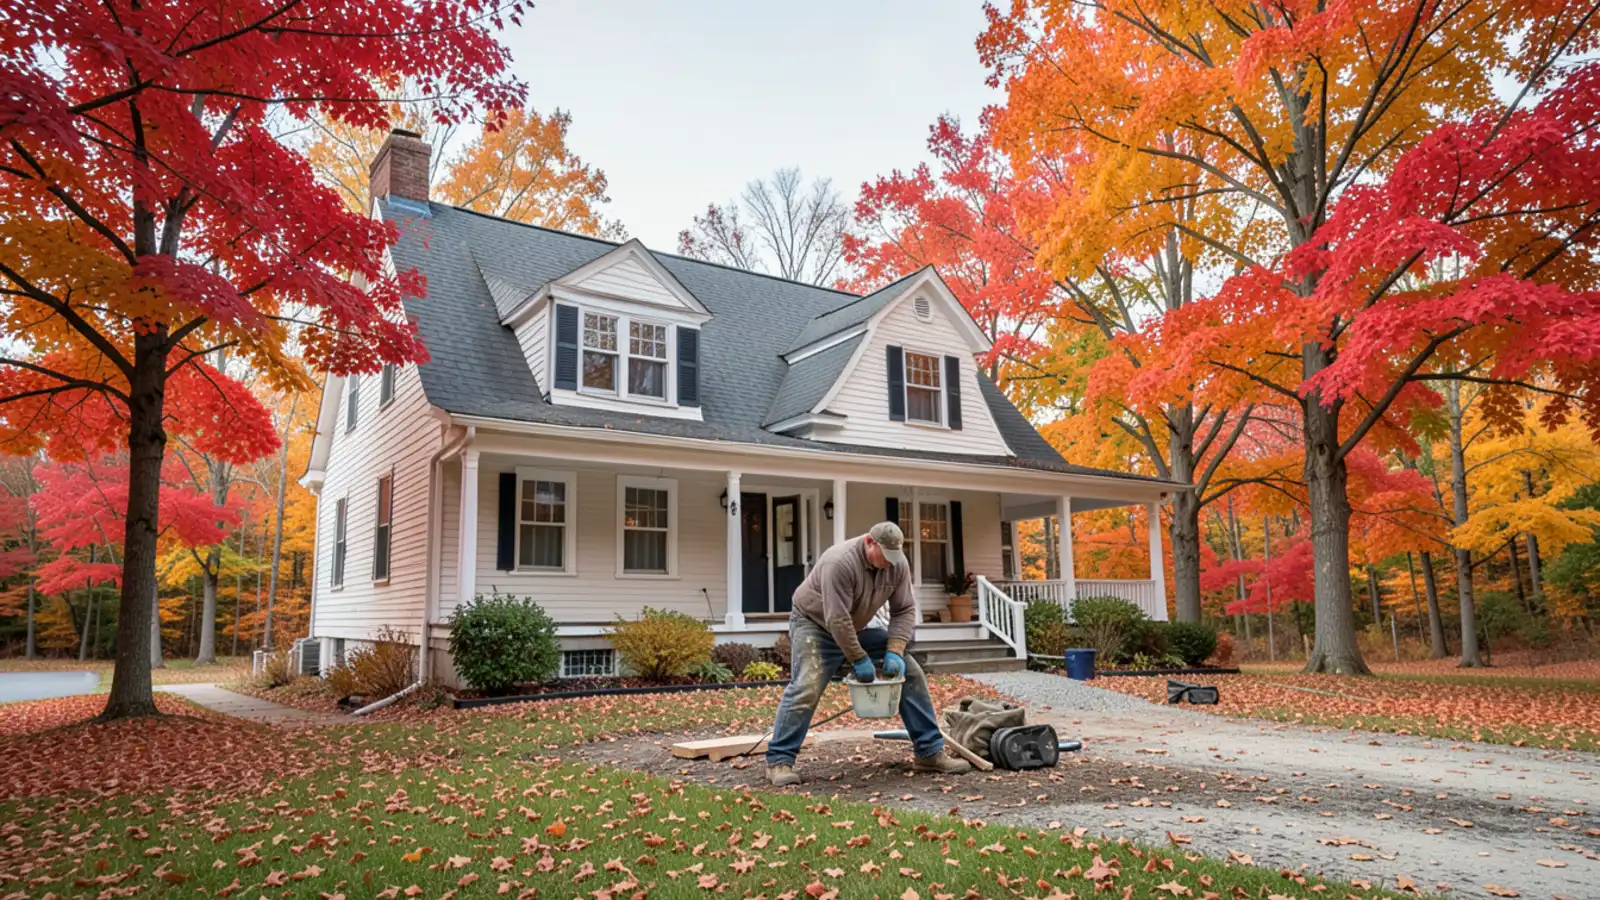
Why September & October Preparation Prevents Mid-Winter Panics
In southern New Hampshire, the first hard autumn frost often arrives unexpectedly in early October, followed by rapid plunges into sub-freezing temperatures by November. The worst time to discover that your furnace won't ignite or your boiler is air-bound is on a 20°F night when every HVAC contractor in Hillsborough County has a 24-hour dispatch backlog.
Proactive fall maintenance takes less than an hour of homeowner effort and protects your heating investment, lowers monthly utility bills, and guarantees safe operation throughout the long New England winter.
Use this comprehensive fall heating checklist—tailored specifically for Merrimack, Nashua, Manchester, and surrounding towns—to prepare your home before freezing weather arrives.
Need In-Person Heating Diagnostics in Southern NH?
Our Merrimack technicians carry diagnostic equipment and replacement parts on every dispatch. Call to discuss your heating system.
- Fast 10–25 minute arrival across Merrimack, Nashua & Manchester
- Upfront diagnosis & written estimate before any work begins
- Full service for natural gas, fuel oil, and propane equipment
Merrimack Hub
454 Daniel Webster Hwy
Rapid Dispatch
10–25 Min Metro Arrival
Upfront Pricing
Clear Quotes Before Work
Multi-Fuel Pro
Gas, Oil & Propane Systems
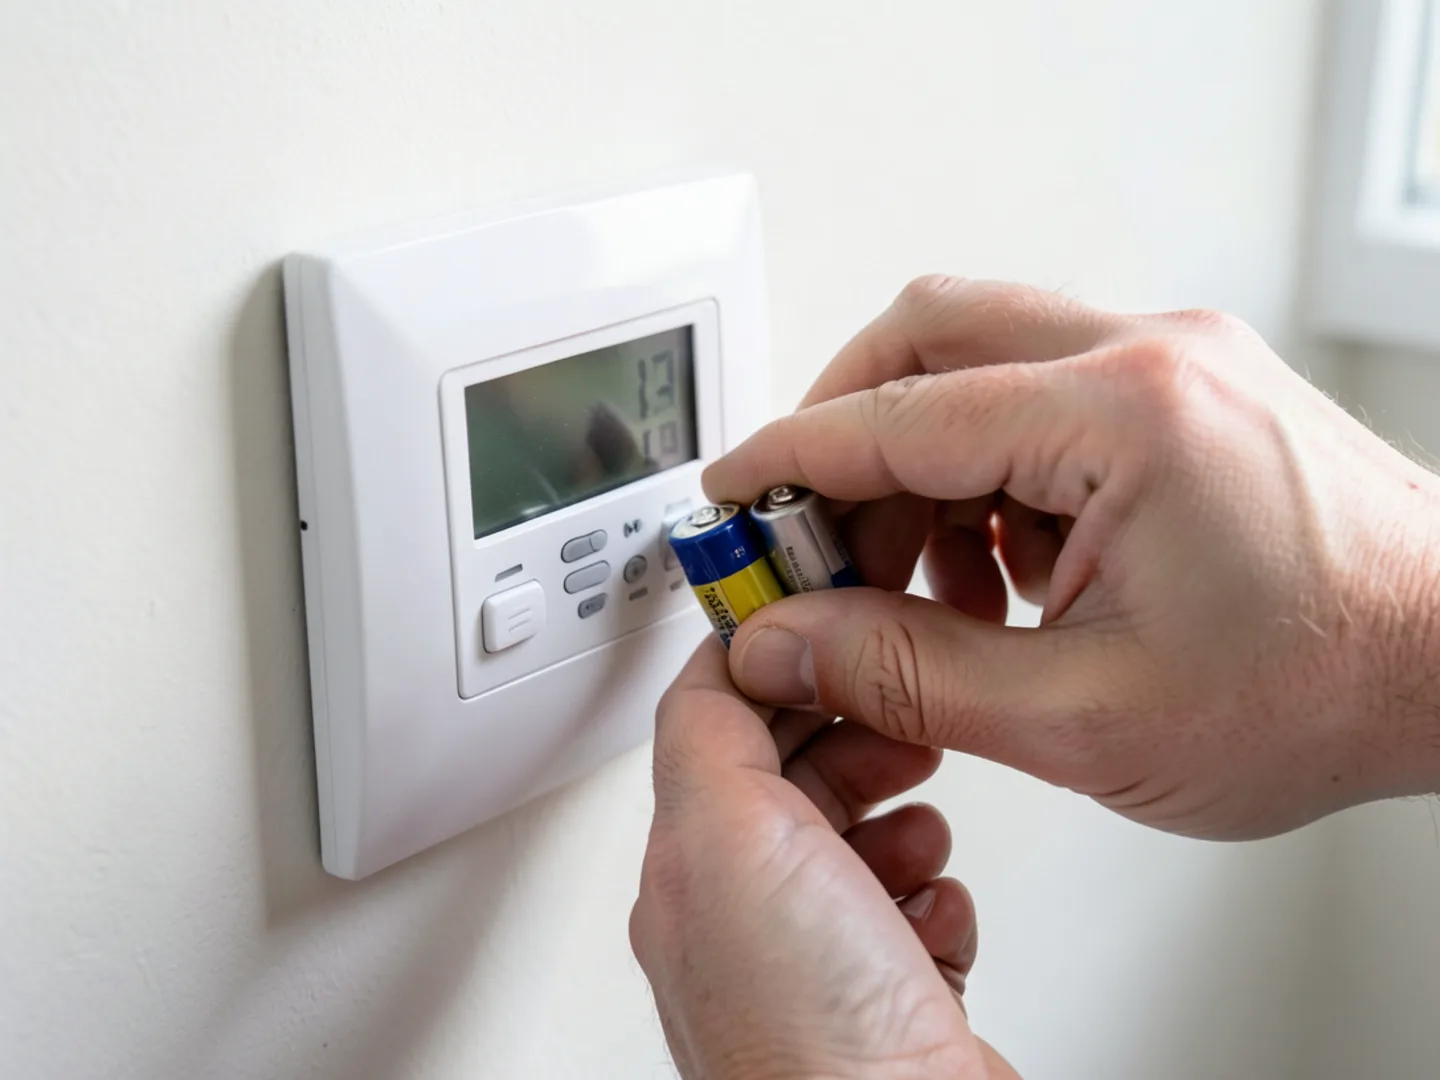
Step 1: The Thermostat Test Run (Do This in Early September)
Do not wait for a sub-freezing evening to turn on your heating system for the first time. On a cool September morning when outdoor temperatures are in the 50s, perform a proactive test run.
Switch your thermostat from COOL to HEAT and raise the temperature setpoint 5 degrees above the current room temperature. Listen carefully for the sequence of operation: the draft inducer fan should start, followed by the soft click of the gas valve or oil burner motor, followed by clean ignition and steady warm airflow within two to three minutes.
It is completely normal to notice a faint burning dust odor for the first 10 to 15 minutes of operation as summer dust burns off the heat exchanger. However, if the system clicks repeatedly without lighting, emits acrid smoke, or shuts off on a limit switch, you have discovered an issue while service queues are short and replacement parts are immediately available.
Step 2: Air Filtration, Humidifiers & Combustion Clearances
Clean airflow is essential for heating efficiency and equipment longevity:
- Replace Disposable Air Filters: Inspect your furnace's 1-inch or 4-inch pleated air filter. Replace any filter showing visible gray dust accumulation with a clean MERV 8 to MERV 11 rated filter. Avoid dense MERV 13+ filters in older systems with undersized ductwork, as excessive static pressure chokes airflow and overheats blower motors.
- Inspect Whole-Home Humidifiers: If your furnace is equipped with a bypass or fan-powered humidifier, slide the damper handle from 'SUMMER' to 'WINTER'. Replace the internal evaporator water panel pad (which accumulates hard water mineral scale), clear the drain line, and set the humidistat to 35% to 40% relative humidity to prevent winter dry throat and static electricity.
- Clear Mechanical Room Clearances: Basements tend to become cluttered over the summer. Clear a minimum 3-foot radius of unobstructed space around your furnace or boiler. Remove combustible items, including paint cans, cardboard boxes, laundry baskets, cleaning solvents, and gasoline cans, which present severe flash-fire hazards.
Step 3: Baseboard Radiator Bleeding & Hydronic Checks
For homes in Amherst, Nashua, and Manchester heated by hydronic boilers:
- Bleed Air from Baseboards: Air naturally migrates to the highest radiators in your home during summer dormancy. With the boiler running and circulators pumping, use a radiator coin key or small flathead screwdriver to open the air bleeder valve on each baseboard or radiator, starting on the first floor and working up to the top floor. Hold a small cup beneath the valve. When hiss turns into a steady stream of water without sputtering, tighten the valve securely.
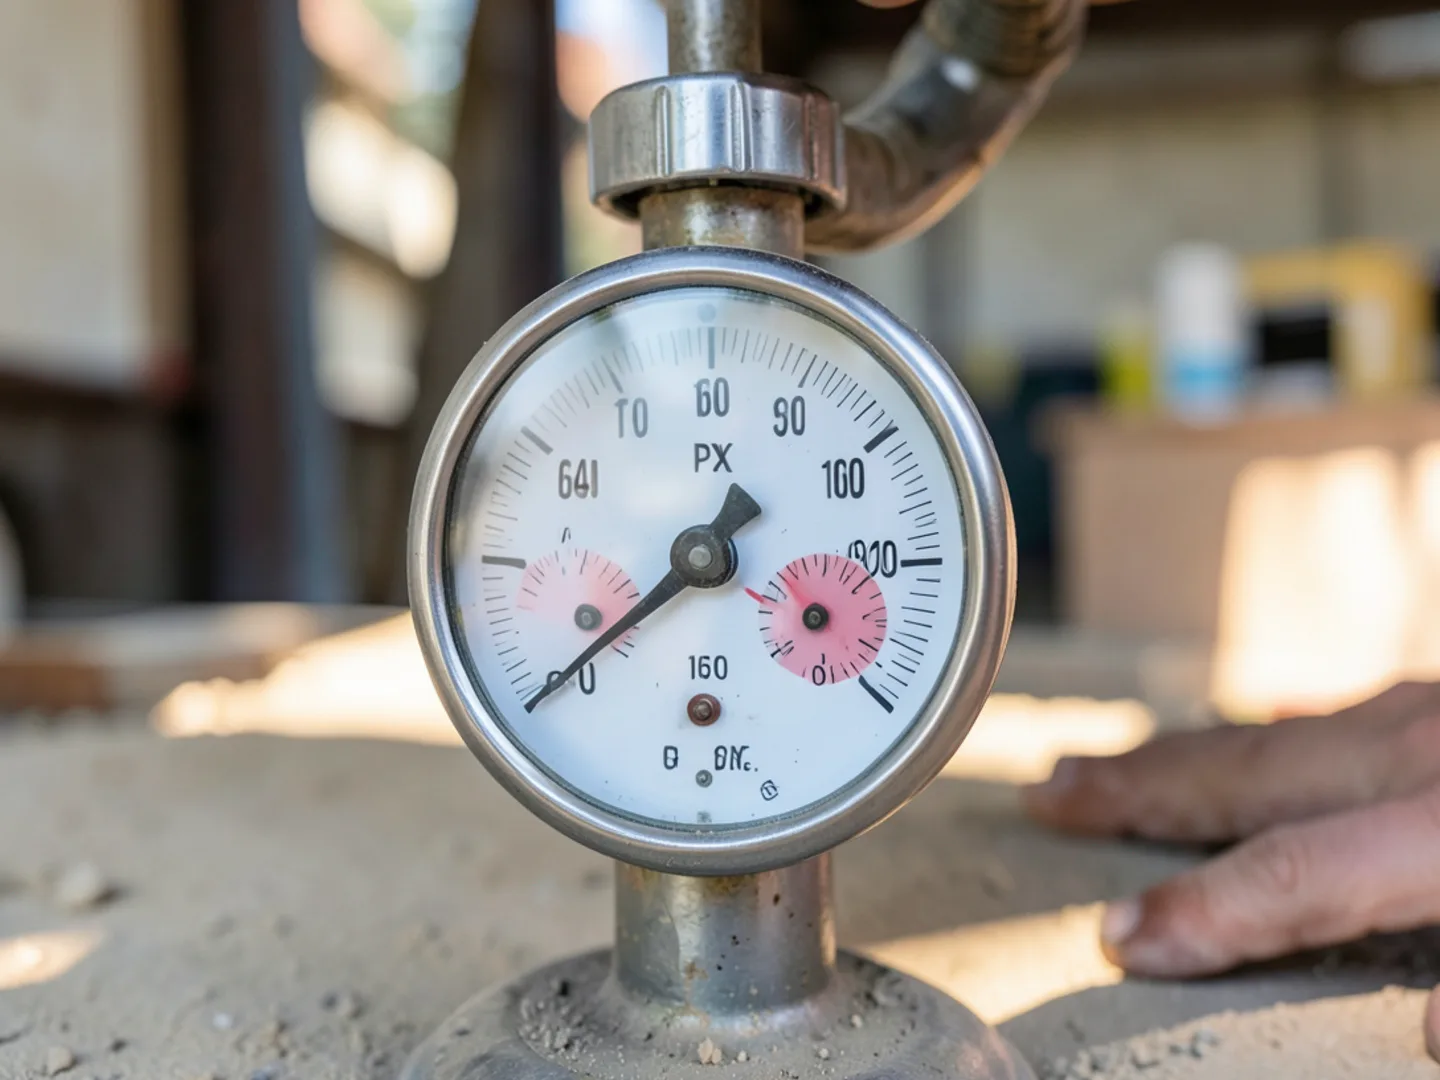
- Inspect Pressure Gauge: Check the boiler's tridicator gauge (pressure and temperature). When cold, closed-loop residential boilers should read between 12 and 15 PSI. When fully heated to 180°F, pressure should not exceed 20 to 25 PSI. If pressure climbs to 30 PSI and the relief valve drips, your expansion tank requires service.
Step 4: Exterior Vent Pipes, Flues & Chimneys
Your home's heating exhaust venting must be inspected before winter storms strike:
- High-Efficiency PVC Vent Pipes: Walk the exterior perimeter of your home and inspect the white PVC intake and exhaust pipes emerging through the rim joist. Ensure the termination screens are intact and free of leaves, rodent nests, and overgrown shrubbery. Plan to keep these pipes shoveled clear of snowdrifts all winter.
- Masonry Chimneys & Flue Pipes: For natural-draft systems venting into a brick chimney, inspect the galvanized smoke pipe connecting the furnace to the thimble. Ensure joints are secured with sheet metal screws and show no rust perforations or white efflorescence powder. Have your chimney swept if burning heating oil or wood.
| Fall Checklist Task | Ideal Timing | Homeowner vs Professional | Key Benefit |
|---|---|---|---|
| Thermostat test fire | Early September | Homeowner DIY | Catches mechanical faults before cold weather |
| Replace air filter & humidifier pad | Late September | Homeowner DIY | Protects blower motor, improves air quality |
| Bleed baseboard radiators | Early October | Homeowner DIY | Eliminates cold spots in upper-floor rooms |
| Clear 3-ft mechanical clearance | Anytime in Fall | Homeowner DIY | Prevents basement flash fire hazards |
| Inspect exterior PVC vent pipes | October | Homeowner DIY | Prevents snowdrift asphyxiation & lockouts |
| Professional combustion tune-up | September–October | Certified HVAC Tech | Lowers seasonal fuel bills 5%–15%; prevents breakdowns |
Expert Insight: Interpreting Electronic Combustion Analyzer Diagnostics
Many homeowners assume an autumn heating tune-up consists merely of a technician wiping down the burner and changing a filter. In reality, a true professional tune-up is a scientific calibration of combustion physics using an electronic flue-gas combustion analyzer (such as a calibrated Testo or Bacharach instrument).
By inserting a stainless steel probe into a test port drilled into the flue exhaust pipe, our technicians measure four critical combustion metrics in real time:
1. Oxygen (O2) and Carbon Dioxide (CO2) Levels: Complete combustion requires a precise ratio of fuel to oxygen. For natural gas, optimal CO2 levels hover between 8.5% and 9.5% (with O2 between 4% and 6%). For residential fuel oil, CO2 should measure between 11.0% and 12.5%. If excess air is too high, heat is blown wastefully up the chimney; if excess air is too low, the flame produces dangerous carbon monoxide and dense soot.
2. Carbon Monoxide (CO Air-Free): In a properly firing burner, CO readings should remain well below 50 parts per million (PPM). If an analyzer detects CO rising above 100 to 400 PPM air-free, it signals incomplete combustion caused by misaligned burner nozzles, inadequate draft, or impingement against a damaged combustion chamber.
3. Net Stack Temperature: This measures the temperature difference between basement combustion air and the hot exhaust gases entering the chimney. An abnormally high stack temperature indicates that soot is insulating the heat exchanger fins, preventing heat from transferring into your home's air or water and sending your fuel dollars straight into the sky.
4. Flue Draft Pressure: Measured in negative thousandths of an inch of water column (-0.02 to -0.04 in W.C.), draft measurement confirms that exhaust gases are being pulled safely upward into the chimney flue rather than spilling back into your basement.
Chimney Flue Draft Testing & Masonry Thimble Degradation in Older NH Homes
If your heating system vents into a traditional brick-and-mortar chimney—common across historic homes in Merrimack, Amherst, and Manchester—autumn is the time to verify structural flue integrity.
Over decades of New England winters, the mildly acidic exhaust from oil burners and gas appliances slowly reacts with the alkaline mortar and terra-cotta clay liner tiles inside the chimney. This chemical degradation causes clay liner segments to spall, crack, and slough off. Falling debris often lands at the base of the chimney, partially or completely blocking the smoke pipe entrance.
Furthermore, technicians inspect the galvanized sheet-metal thimble where the appliance smoke pipe penetrates the masonry foundation. Moisture and sulfur compounds often rust out the bottom of this thimble unnoticed. A compromised thimble allows toxic combustion gases and carbon monoxide to bypass the vertical chimney draft, spilling directly into the basement where central return ducts can circulate them throughout the living spaces above. Verifying clean chimney draft is a non-negotiable life-safety check.
Step 5: Life-Safety Alarms & Professional Annual Tune-Up
Before the heating season begins in earnest, test every smoke detector and carbon monoxide (CO) detector in your home. Replace backup 9-volt batteries and check the manufacture date stamped on the back of each unit—CO detectors must be replaced every 5 to 7 years because their internal chemical sensors degrade over time.
Finally, schedule your professional annual heating tune-up with Puzzled Comfort HVAC at (321) 666-8870. Our certified technicians perform electronic combustion efficiency testing, clean flame sensors, calibrate burner nozzles, check heat exchangers for microscopic cracks, and test all life-safety cutoff switches, ensuring your heating system keeps your family warm, safe, and comfortable all winter long.
Common Questions on this Topic
Practical answers from our experienced HVAC service technicians.
The ideal window is between late August and mid-October. Technicians have flexible scheduling before the winter emergency rush begins, and any worn parts can be replaced proactively before freezing weather arrives.
Have a question about your specific heating system or fuel type?
Speak directly with a local technician to discuss symptoms and dispatch options.
Call Our Dispatch Desk: (321) 666-8870